
Introduction: Fresh, Clean Bean Sprouts at Home
Bean sprouts are among the healthiest, most versatile foods you can grow at home. Packed with vitamins, minerals, fiber, and enzymes, they can enhance salads, stir-fries, sandwiches, and smoothies. Yet, many people avoid sprouts due to concerns about hygiene, spoilage, or difficulty in growing them.
The good news? With the [FOCUS KEYWORD], anyone can produce super clean, super easy sprouts right at home — even without a garden. This guide walks beginners step by step through seed selection, germination, storage, and preparation so you can enjoy fresh sprouts safely and easily.
Why Grow Bean Sprouts at Home?
Home-grown sprouts have multiple advantages over store-bought options:
- Clean and natural: You control the seeds and hygiene, reducing exposure to chemicals and contaminants.
- Fast and efficient: Most sprouts are ready in 3–7 days. (Almanac)
- Cost-effective: A small packet of seeds yields multiple servings.
- Nutrient-rich: Sprouts can contain up to 20 times more vitamins and antioxidants than mature beans. (Taim)
For beginners, growing sprouts is a low-risk, high-reward project. It requires minimal equipment, space, or expertise, making it perfect for small apartments or homes without gardens.
What You’ll Need
Growing clean, healthy sprouts requires only a few simple items:
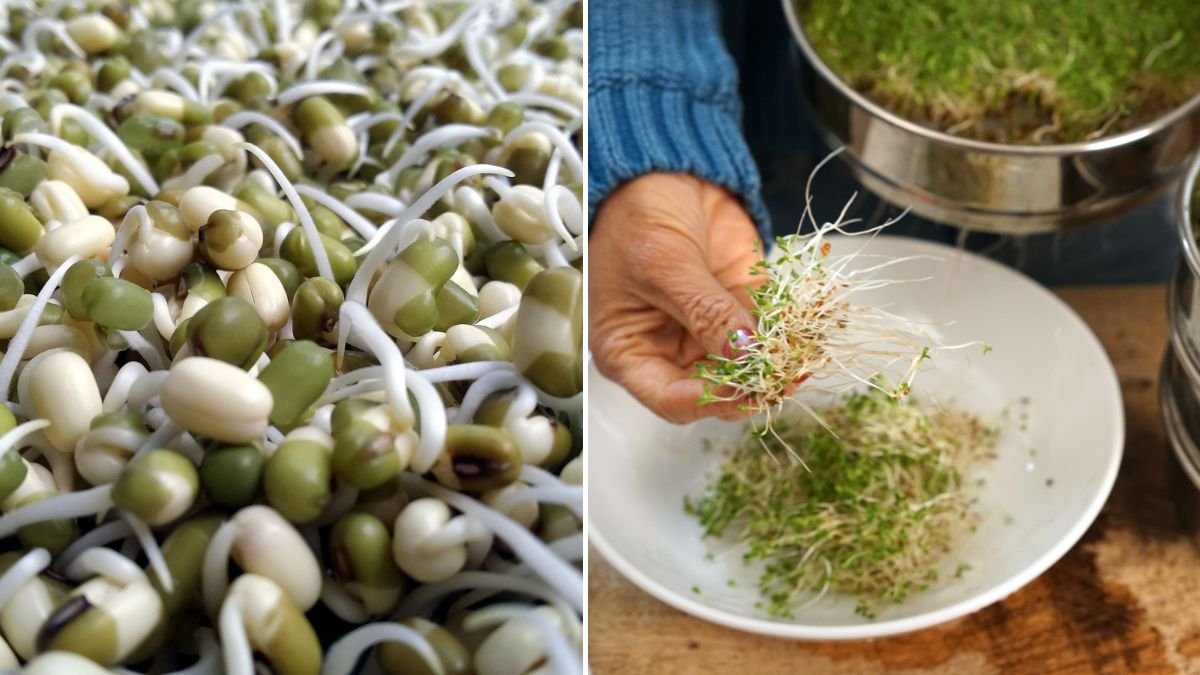
- Sprouting seeds: Mung beans, alfalfa, lentils, broccoli seeds, or other sprouts for beginners.
- Sprouting jar with mesh or cheesecloth or a sprouting tray.
- Rubber band or lid to secure the mesh.
- Clean water for soaking and rinsing. (Knorr)
Optional items include a tray for drainage, small funnel, or additional containers for batch sprouting.
Step-by-Step Guide: Super Clean, Super Easy Bean Sprouts
Step 1: Choose the Right Seeds
Selecting seeds specifically labeled for sprouting is critical. Avoid seeds treated with chemicals. Popular beginner-friendly seeds include mung beans, alfalfa, lentils, adzuki beans, and broccoli. Mung beans, in particular, are thick, juicy, and easy to sprout. (Taim)
Step 2: Soak the Seeds
- Place the seeds in a clean jar.
- Cover with filtered water and let soak for 8–12 hours at room temperature.
- Cover the jar with cheesecloth or a mesh lid to allow airflow. (Knorr)
Soaking activates enzymes, softens the seed coat, and triggers germination.
Step 3: Drain and Rinse
After soaking, drain all water completely. Rinse seeds with fresh water at least twice daily. Frequent rinsing is critical to prevent mold and bacterial growth. A properly rinsed batch produces crisp, clean sprouts. (Taim)
Step 4: Maintain Ideal Conditions
Sprouts need a warm, shaded, ventilated environment to grow effectively. Avoid direct sunlight, which can damage delicate sprouts. Keeping the jar or tray tilted slightly allows excess water to drain. (Homes & Gardens)
Step 5: Harvest
Most sprouts are ready in 3–7 days, depending on the variety:
- Mung beans: 4–6 days
- Alfalfa: 5–7 days
- Lentils: 3–4 days
- Broccoli: 3–4 days (Taim)
Sprouts are ready when they are 1–2 inches long and have crisp stems with tiny green leaves. Harvest by rinsing, draining, and storing immediately.
Secrets to Super Clean Sprouts
Proper hygiene is crucial:
- Use filtered or clean drinking water for soaking and rinsing. (Knorr)
- Sanitize jars and trays before each batch with warm soapy water. (Taim)
- Drain thoroughly after every rinse to avoid waterlogging. (Amazing Food & Drink)
Following these steps ensures sprouts are safe to eat and free from bacteria or mold.
Tips for Better Growth & Flavor
- Don’t overcrowd the seeds: Good airflow prevents mold.
- Rinse frequently: Morning and evening rinses keep sprouts fresh.
- Avoid direct sunlight: Sprouts grow best in shaded areas until the final day.
- Check for spoilage: Discard sprouts if they smell bad or turn slimy. (Taim)
Nutritional Benefits of Bean Sprouts
Sprouts are a powerhouse of nutrition:
- High in vitamins A, C, and K
- Rich in enzymes that aid digestion
- Low in calories and high in fiber
- Contain antioxidants to fight inflammation
- Support heart health and immune function (Taim)
Growing them at home ensures maximum freshness and nutrient retention.
Creative Ways to Enjoy Bean Sprouts
Sprouts are incredibly versatile:
- Add to salads, wraps, and sandwiches
- Mix into stir-fries or soups
- Blend in smoothies for extra nutrition
- Use as a topping for tacos or rice bowls
Their crisp texture and mild flavor make them suitable for both raw and lightly cooked dishes.
Safety Considerations
While sprouts are healthy, they are also sensitive to bacteria, such as E. coli or Salmonella. To minimize risk:
- Always use clean water and sanitized containers
- Discard any slimy or foul-smelling sprouts
- Consider lightly steaming sprouts for children, elderly, or immunocompromised individuals (Taim)
Why This Method Beats Store-Bought Sprouts
| Store-bought sprouts | Home-grown sprouts |
|---|---|
| May contain preservatives or pesticides | 100% natural and clean |
| Expensive | Very cost-effective |
| Limited freshness | Ready whenever you want |
| Risk of contamination | Control over hygiene and quality |
With this method, sprouts are fresher, safer, and more nutritious than anything you’ll find in stores.
Final Thoughts: Start Sprouting Today
With just a jar, water, and seeds, the [FOCUS KEYWORD] allows anyone to grow fresh, super clean, super easy bean sprouts at home. This beginner-friendly method saves money, improves nutrition, and opens up countless ways to enjoy sprouts daily.
Start your first batch today and experience the satisfaction of crunchy, healthy sprouts ready in just a few days! 🌱