
There’s nothing quite like the delicate, white nodding blooms of snowdrops (Galanthus) to signal the first signs of spring. These charming little flowers often appear when snow still blankets the ground, offering a cheerful reminder that warmer days are on the horizon. While most gardeners plant snowdrop bulbs in the fall, there’s a lesser-known technique called “planting in the green” that allows you to plant bulbs while they are actively growing, providing an even earlier burst of bloom and a natural, garden-ready look.
In this guide, we’ll explore how to plant snowdrops in the green, why this method works, and tips to create a long-lasting display that heralds spring.
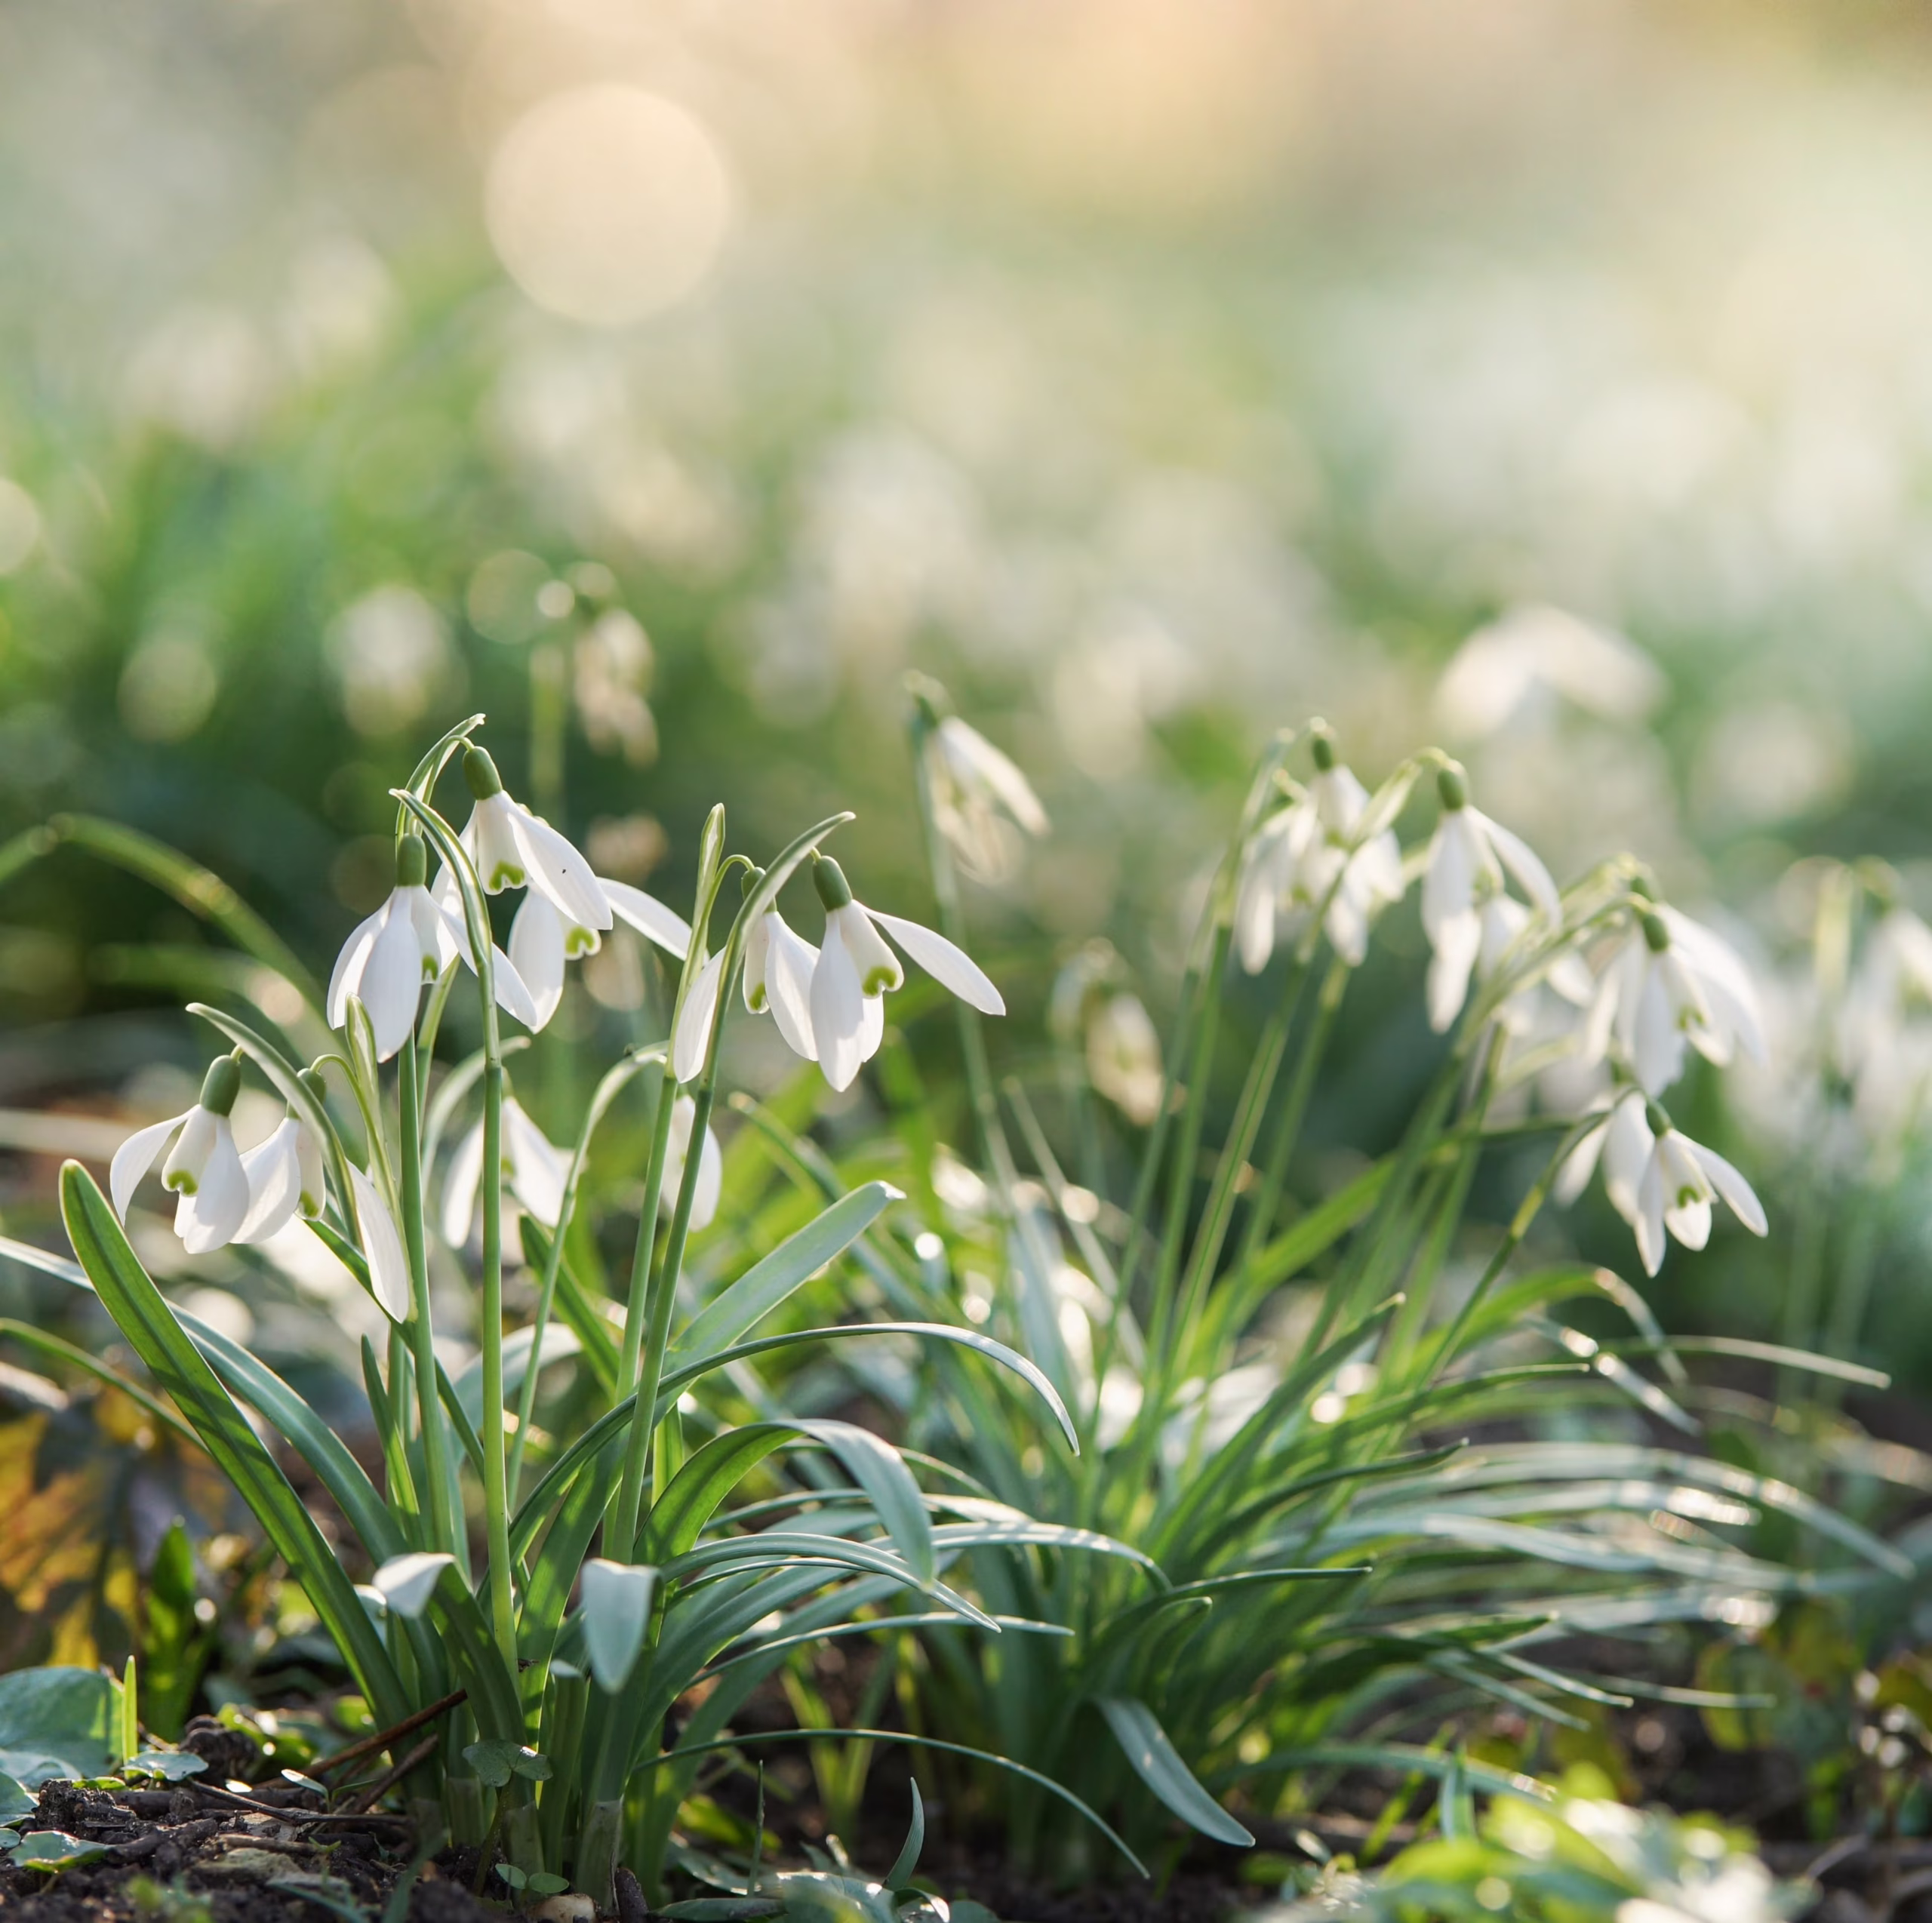
What Does “Planting in the Green” Mean?
“Planting in the green” refers to planting bulbs while the foliage and shoots are still alive above ground. Unlike dormant bulbs planted in the fall, green bulbs have already begun to sprout, making them ready to establish quickly in a new location.
Advantages of this method include:
- Earlier blooms: Because the bulb is already growing, it can flower sooner than dormant bulbs.
- Better establishment: Bulbs have a head start on root development.
- Natural garden effect: Bulbs planted in the green integrate seamlessly with existing plants, creating a messier, woodland look that many gardeners love.
This method is particularly popular for snowdrops, winter aconites, and other early-flowering bulbs.
When to Plant Snowdrops in the Green
Timing is critical. Snowdrops in the green should be planted when:
- Bulbs are actively sprouting and showing leaves
- The soil is moist but not waterlogged
- Temperatures are above freezing but cool, typically late winter to very early spring depending on your region
Planting too early in frozen soil can damage the shoots, while planting too late may reduce the time the bulb has to establish before flowering.
Choosing the Right Site
Snowdrops prefer specific growing conditions to thrive:
- Light: Partial shade is ideal, mimicking their natural woodland habitat. Avoid hot, direct afternoon sun.
- Soil: Moist, well-draining soil enriched with organic matter such as leaf mold or compost. Bulbs dislike waterlogged conditions.
- Protection: Plant near shrubs or under deciduous trees to provide natural shelter while still allowing enough sunlight in winter and early spring.
A carefully chosen location ensures healthy growth and repeated blooms year after year.
Step 1: Preparing the Soil
Before planting, prepare the soil to maximize bulb establishment:
- Loosen the soil to a depth of 4–6 inches using a fork or spade.
- Incorporate organic matter such as compost or leaf mold to improve drainage and fertility.
- Remove weeds, rocks, and debris that could obstruct root growth.
Well-prepared soil encourages strong root development and helps the bulbs withstand cold weather.
Step 2: Handling Snowdrops in the Green
Snowdrops in the green require careful handling, as the shoots are delicate:
- Lift bulbs gently from their nursery trays or pots.
- Keep the root ball intact to minimize disturbance.
- Handle by the base of the bulb, avoiding bending or snapping the leaves.
This careful approach ensures that fragile shoots remain intact and ready to continue growing in their new location.
Step 3: Planting Technique
To plant snowdrops in the green:
- Dig a hole slightly larger than the bulb’s root system.
- Place the bulb gently in the hole, ensuring the roots spread naturally downward.
- Backfill with soil, lightly firming around the bulb without compacting.
- Water thoroughly to settle the soil and eliminate air pockets around the roots.
Bulbs should be planted at the same depth they were growing in the nursery, usually just below the soil surface with the green shoots above.
Step 4: Watering and Mulching
Proper moisture and insulation are essential for successful planting:
- Water immediately after planting to help roots establish.
- Maintain even moisture throughout winter and early spring, but avoid waterlogging.
- Mulch lightly with leaf mold or bark chips to protect against temperature fluctuations and retain moisture.
Mulching also adds to the natural woodland aesthetic, making the display look more integrated.
Step 5: Caring for Snowdrops After Planting
Once planted, snowdrops need minimal care but benefit from:
- Consistent moisture during growth and flowering
- Avoiding disturbance; snowdrops dislike being moved frequently once in the ground
- Removing dead foliage carefully after flowering, allowing the leaves to photosynthesize and feed the bulb for next year
The bulbs will gradually naturalize, spreading slowly to form larger clumps over several seasons.
Step 6: Companion Planting for a Spring Display
Snowdrops pair beautifully with other early bloomers:
- Winter aconites (Eranthis hyemalis): Yellow, cheerful blooms complement snowdrops’ white flowers.
- Crocuses: Add early spring color and extend the flowering season.
- Shade-loving perennials: Such as hellebores or hostas, which emerge after snowdrops finish flowering.
Companion planting enhances the woodland garden effect and provides a continuous display of color.
Common Challenges and How to Avoid Them
- Slugs and snails: Protect young shoots with organic repellents or physical barriers.
- Waterlogged soil: Avoid planting in low spots; amend soil to improve drainage.
- Crowding: Space bulbs to allow air circulation; overcrowding reduces bloom quality and encourages disease.
Monitoring these factors ensures your snowdrops flower reliably each year.
Why Snowdrops in the Green Are Worth Trying
- Faster bloom than fall-planted dormant bulbs
- More predictable flowering because the bulbs are already actively growing
- Naturalized appearance in garden beds and woodland areas
- Low maintenance once established
Gardeners who experiment with green planting often achieve a more vibrant and early spring display, delighting in the first flowers of the season.
Final Thoughts
Planting snowdrops in the green is a wonderful technique for gardeners seeking an early, hopeful hint of spring. By choosing the right site, handling bulbs carefully, planting at the correct depth, and providing consistent moisture, you can enjoy delicate white blooms appearing while snow still lingers on the ground.
With time and patience, these snowdrops will naturalize and return year after year, forming drifts of flowers that signal the changing season. Green planting is not just a practical method — it’s an opportunity to bring a touch of elegance, resilience, and joy to your winter garden, reminding us that spring is always just around the corner.