
Oyster mushrooms are not only delicious but also incredibly easy to grow, making them a favorite among home gardeners and mushroom enthusiasts alike. One of the most sustainable and accessible methods for cultivating oyster mushrooms is by using cardboard as a substrate. This method offers multiple benefits, including recycling waste materials and creating a productive yield. Here, we explore the process in detail, focusing on how to successfully cultivate endless oyster mushrooms using cardboard.
To begin with, one must understand the biology of oyster mushrooms. These fungi belong to the Pleurotus genus and grow naturally on decaying wood. They have a high tolerance for various growth substrates, which is why cardboard works well. Cardboard is rich in cellulose, a carbohydrate that fungi such as oyster mushrooms can easily break down. By harnessing the natural decomposition process, you can create a thriving environment for these mushrooms to flourish.
Gathering Materials
Before diving into the cultivation process, it’s essential to gather all necessary materials. The main components include used cardboard, oyster mushroom spawn, water, and some additional tools for cutting and soaking. Used cardboard from boxes or packaging is ideal; however, avoid any treated or glossy types, as additives can inhibit mushroom growth. Aim for unbleached, plain cardboard for best results.
Next, acquire quality oyster mushroom spawn. This is a commercially available product containing mycelium, the vegetative part of the fungus. You can purchase it from local gardening stores or online suppliers. When selecting the spawn, look for reputable brands to ensure that you’re starting with healthy, vigorous mycelium.
Additionally, gather the necessary tools. You’ll need a sharp knife or scissors for cutting the cardboard, a bucket or large container for soaking it, and a plastic bag or a container with a lid for the growing environment. A spray bottle for misting may also come in handy for maintaining humidity.
Preparing the Cardboard
Once you have everything, it’s time to prepare the cardboard. Start by cutting the cardboard into smaller pieces. Aim for sizes around 2 to 4 inches in length or width; this will facilitate quicker decomposition and allow the mycelium to spread more easily. Remove any tape or labels, as these can impede growth.
After cutting, soak the cardboard in water for several hours, ideally overnight. The cardboard should be thoroughly saturated but not mushy. This soaking process helps to break down the cellulose and provides the necessary moisture for the mycelium to colonize.
Inoculating the Cardboard
Once the cardboard is soaked and drained, it’s time to inoculate it with your oyster mushroom spawn. Gently mix the spawn with the wet cardboard. You can shred the cardboard further or fold it over to ensure an even distribution of the spawn. If you’re using a plastic bag, place the inoculated cardboard into the bag, ensuring to leave some air circulation. If using a container, cover it loosely.
This mixture should be kept in a warm, dark environment to encourage the mycelium to grow. An ideal temperature range for oyster mushrooms is between 65°F and 75°F (18°C to 24°C). Depending on the conditions, you will notice the mycelium beginning to spread within a week or two.
Monitoring Growth
As the mycelium colonizes the cardboard, check it regularly. Look for a white, fuzzy growth that indicates healthy mycelium. Avoid opening the bag or container too frequently, as this can disrupt the conditions and introduce contaminants. If you notice any unusual colors or smells, it may indicate contamination, and you should remove the affected parts.
The colonization phase can take anywhere from two to four weeks. Once the cardboard is fully covered in white mycelium, it’s time to move to the next stage—initiating fruiting.
Initiating Fruiting Conditions
To encourage the growth of actual mushrooms, you’ll need to create fruiting conditions. This involves changing the environment to one that stimulates the mycelium to produce fruit bodies. Begin by exposing the cardboard to indirect light and increasing humidity. A well-lit area, such as a kitchen window, can work wonders, but avoid direct sunlight, which can dry out the substrate.
Misting the substrate daily can help maintain humidity levels. Consider covering the setup with a light plastic cover or placing it inside a mini-greenhouse to retain moisture. Good air circulation is also essential; if your setup feels stagnant, consider introducing some form of ventilation.
Fruiting can begin within a week after initiating these conditions. You may see small mushroom pins forming, which will eventually grow into mature oyster mushrooms. Timing and yield can vary based on the specific mushroom variety and the conditions you’ve created.
Harvesting the Mushrooms
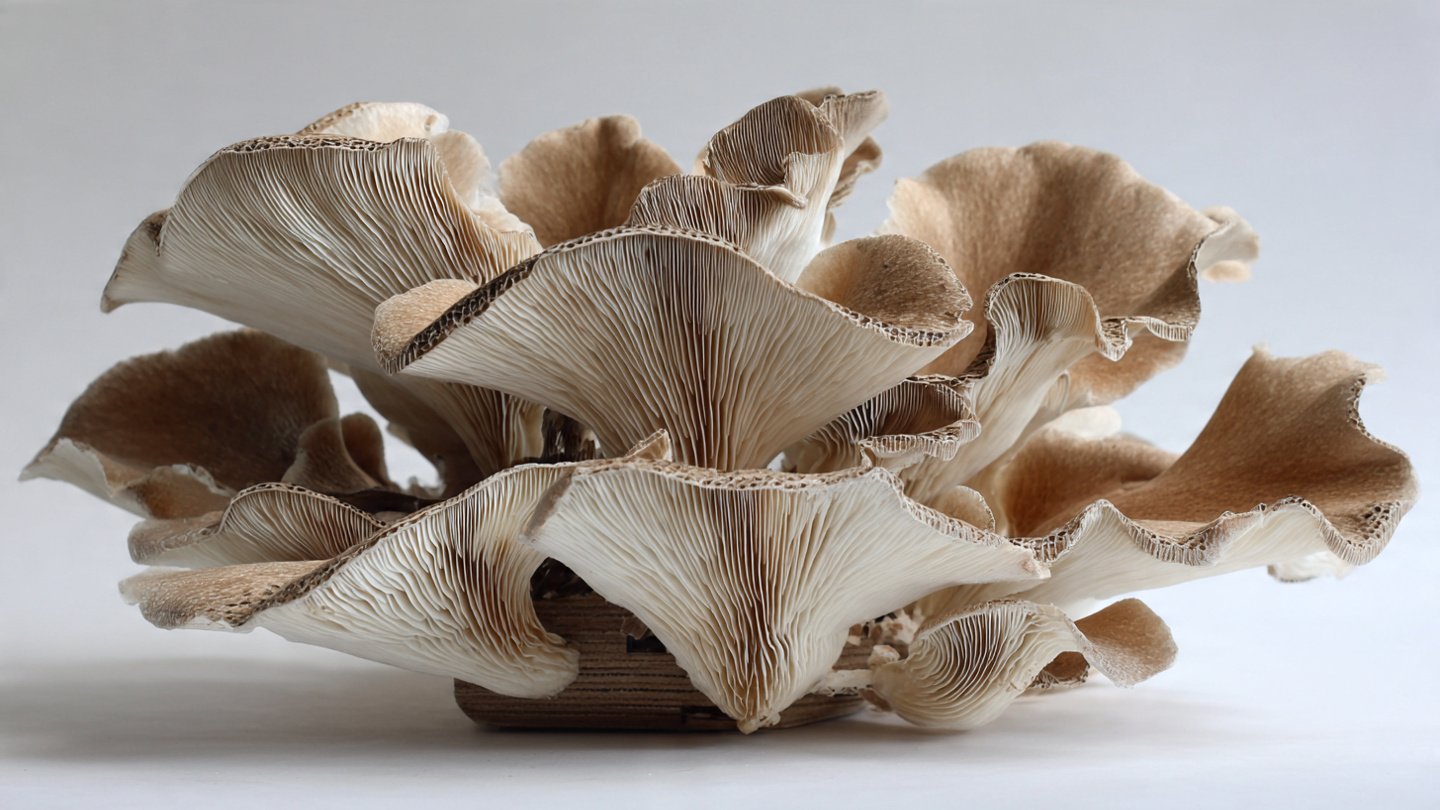
When the mushrooms reach a substantial size, about 3 to 5 inches in diameter, it’s time for harvest. The best practice is to gently twist or cut the mushroom at the base, ensuring not to damage nearby pins. Harvesting should be done in the morning when the mushrooms are most hydrated.
After the initial harvest, you can expect further flushes of mushrooms. Generally, oyster mushrooms will continue to fruit from the same substrate for about three flushes. Each subsequent harvest may yield slightly smaller mushrooms, but the quality should remain consistent.
Maintaining the Substrate
After harvesting, it’s vital to keep the substrate healthy. Continue to mist it to maintain moisture levels and provide proper conditions for new growth. If you notice a decline in mushroom production, consider refreshing the cardboard. This involves removing old cardboard bits and adding new, soaked cardboard to rejuvenate the substrate.
The beauty of using cardboard for mushroom cultivation is its sustainability. Once the mushroom growth ceases, you can compost the spent substrate or even reuse it for growing additional mushrooms. By layering fresh spawn with spent substrate, you create a continuous cycle of growth.
Benefits of Cultivating Oyster Mushrooms Using Cardboard
There are numerous benefits to using cardboard as a substrate for growing oyster mushrooms. For starters, it promotes recycling by repurposing waste materials that might otherwise end up in a landfill. Additionally, this method is cost-effective since cardboard is readily available and often free. You’re also cultivating a nutritious food source in your home, providing fresh and organic mushrooms at your fingertips.
Oyster mushrooms offer several health benefits. They are low in calories yet high in nutrients, providing essential vitamins, minerals, and antioxidants. Regular consumption of mushrooms can contribute to improved immune function, heart health, and even weight management.
Lastly, the process itself can be therapeutic. Growing mushrooms allows you to engage with nature and learn about fungal biology. It’s an excellent activity for families and a fun project for individuals interested in sustainable living.
Troubleshooting Common Issues
While cultivating oyster mushrooms using cardboard is relatively simple, challenges may arise. Below are some common issues and potential solutions:
- Contamination: If mold or other unwanted organisms appear, it might indicate poor sterilization during preparation. Always ensure that your materials and tools are clean.
- Low Yield: If you’re not getting a satisfactory yield, check humidity and temperature levels. Make adjustments as necessary, and don’t hesitate to introduce misting if the substrate appears dry.
- Slow Growth: Slow mycelium colonization could point to inadequate moisture or unfavorable temperature conditions. Ensure your environment is within the ideal range for oyster mushrooms.
- Dehydration: If mushrooms begin to look dry or shriveled, it may be a sign that you need to increase humidity. Misting more frequently can help rectify this.
Cultivating oyster mushrooms using cardboard is a rewarding process that can yield delicious results while promoting sustainable practices. As more people gravitate toward urban gardening and self-sufficiency, this method presents an exciting opportunity to explore the world of fungi. By following the steps outlined and remaining attentive to the mushrooms’ needs, you can enjoy endless harvests of fresh oyster mushrooms right from your home. Whether you’re cooking them up in a stir-fry, adding them to soups, or savoring them grilled, the possibilities are endless with your newly acquired mushroom-growing skills.